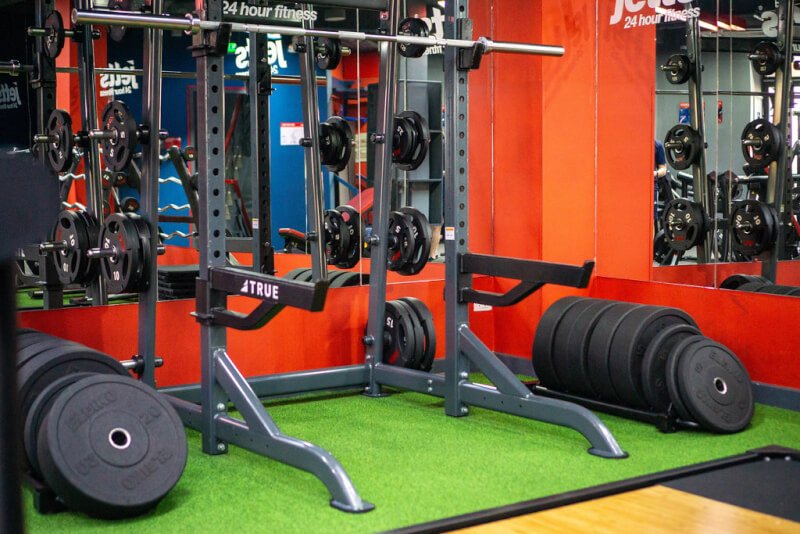
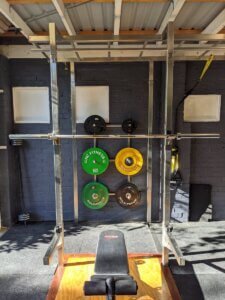
If you’re looking to level up your home gym without breaking the bank, then building your own DIY squat rack is the way to go. In this article, we’ll show you step-by-step how to create a sturdy and functional squat rack that will help you achieve your fitness goals without having to rely on expensive commercial equipment. With just a few simple materials and a little bit of creativity, you’ll have your very own squat rack right in the comfort of your own home. So, roll up your sleeves and get ready to unleash your inner handyman as we guide you through the process of building a DIY squat rack for your home gym.

Materials and Tools
To build your own DIY squat rack for your home gym, you will need the following materials and tools:
Metal pipes
Metal pipes will serve as the main structure of your squat rack. Ensure that you choose pipes with the appropriate diameter and thickness to ensure stability and durability.
Metal connectors
Metal connectors are essential for joining the pipes together securely. Look for connectors that are compatible with the diameter of your pipes.
Measuring tape
Accurate measurements are crucial when building a squat rack. A measuring tape will help you determine the correct dimensions for each component of the rack.
Pipe cutter
A pipe cutter is necessary to cut the metal pipes to the desired lengths. This tool ensures clean, straight cuts for a professional-looking finish.
Wrench
A wrench will be needed to tighten the connectors securely. Choose a wrench that fits the size of the connectors you are using.
Drill
A drill will come in handy when attaching the safety bars and J hooks to the uprights. Make sure you have the appropriate drill bits for drilling into metal.
Design Planning
Before starting the construction of your squat rack, it’s important to plan out the design and consider a few key factors:
Determine the dimensions
Decide on the height, width, and depth of your squat rack based on your specific needs and the available space in your home gym.
Sketch the design
Sketching a rough design of your squat rack will help you visualize the final product and make adjustments as needed.
Determine the height
Consider your own height and range of motion when determining the height of the squat rack. It should accommodate your full range of motion during squats.
Consider weight capacity
Think about the maximum weight you plan to lift on the squat rack and choose materials that can support that weight without compromising safety.
Preparing the Pipes
To ensure the pipes are ready for assembly, follow these steps:
Measure and mark the pipes
Using your measuring tape, measure and mark the pipes according to the dimensions determined during the design planning phase. Double-check your measurements before proceeding.
Cut the pipes to desired lengths
Using a pipe cutter, carefully cut the pipes to the desired lengths. Take your time to achieve clean, straight cuts.
Debur the ends of the pipes
After cutting the pipes, use a file or sandpaper to smooth out any rough edges or burrs on the ends. This will ensure a flush and secure fit when attaching the connectors.
Assembling the Base
The base of your squat rack provides stability and support, so it’s important to assemble it correctly:
Connect the pipes for the base
Using the metal connectors, join the pipes together to create the base of your squat rack. Follow your sketch or design plan to ensure the correct configuration.
Use connectors to join pipes
Secure the metal connectors on each end of the pipes, using a wrench to tighten them securely. This will prevent any movement or wobbling during use.
Tighten the connectors securely
Double-check that all connectors are tightly secured, using your wrench to ensure a snug fit. A stable base is essential for the overall stability of the squat rack.
Building the Uprights
The uprights provide vertical support for your squat rack. Follow these steps to build them:
Measure and cut the upright pipes
Using your measuring tape, measure and mark the upright pipes according to your design plan. Carefully cut the pipes to the desired lengths using a pipe cutter.
Attach the uprights to the base
Connect the upright pipes to the base of the squat rack, using the appropriate connectors. Ensure that they are aligned properly and securely fastened.
Use connectors to secure them
Tighten the connectors that join the uprights to the base, using a wrench. This will ensure that the uprights are stable and won’t shift during use.
Adding Safety Bars
Safety bars provide an added level of security during your workouts. Here’s how to install them:
Measure and cut the safety bar pipes
Measure and mark the pipes for the safety bars according to your design plan. Use a pipe cutter to make clean cuts and ensure they are the correct length.
Attach the safety bars to the uprights
Using appropriate connectors, attach the safety bars to the uprights at a height that is comfortable for you. Double-check that they are level and securely fastened.
Ensure they are level and secure
Check that the safety bars are properly aligned and level before using the squat rack. This will ensure that they provide adequate protection during your workouts.
Creating J Hooks
J hooks are essential for holding the barbell securely in place. Follow these steps to create and install them:
Measure and cut the J hook pipes
Measure and mark the pipes for the J hooks according to your design plan. Cut them to the desired length using a pipe cutter.
Attach the J hooks to the uprights
Using appropriate connectors, attach the J hooks to the uprights at a height that allows for easy barbell placement and retrieval. Make sure they are securely fastened.
Ensure they are sturdy and properly aligned
Check that the J hooks are sturdy and align with each other properly. They should be able to support the weight of the barbell without any issues.
Finishing Touches
Once you have assembled the main components of your DIY squat rack, it’s time to give it a polished look and added functionality:
Sand any rough edges
Using sandpaper or a file, sand down any remaining rough edges or burrs on the pipes. This will prevent any potential injuries and give your squat rack a smooth finish.
Paint or coat the squat rack
Consider adding a coat of paint or protective finish to your squat rack to prevent rust and give it a personalized touch. Choose a paint color that matches your home gym aesthetic.
Add rubber padding for grip and protection
To enhance grip and protect your barbell, consider adding rubber padding or grip tape to the J hooks and safety bars. This will prevent any slipping or damage to your equipment.

Safety Considerations
Safety should always be a top priority when using a squat rack. Keep the following considerations in mind:
Ensure the rack is stable
Before each use, make sure your squat rack is stable and secure. Check that all connectors are tightened properly and that there is no wobbling or movement.
Regularly inspect for damage
Regularly inspect your squat rack for any signs of damage or wear and tear. Replace any damaged or compromised components to maintain the rack’s structural integrity.
Use spotters or safety bars during workouts
To further enhance safety during heavy lifts, it is recommended to have a spotter or use safety bars. This will provide an extra layer of protection and prevent injuries in case of fatigue or failed lifts.
Tips and Tricks
Here are some additional tips and tricks to make your DIY squat rack building process smoother:
Double-check measurements before cutting
Measure twice, cut once! Always double-check your measurements before making any cuts to ensure accuracy and avoid unnecessary mistakes or wasted materials.
Seek assistance for heavier parts
If certain components of your squat rack are particularly heavy or require extra strength to maneuver, don’t hesitate to ask for assistance. It’s better to be safe than risk injury.
Test the rack for stability before using
Once your squat rack is fully assembled, it’s a good idea to test its stability and sturdiness before loading it with any weight. Give it a few gentle shakes or apply light pressure to ensure it can handle the load.
Now that you have all the materials, tools, and step-by-step instructions, you’re ready to build your own DIY squat rack for your home gym. Enjoy the process and have fun customizing your rack to fit your specific needs and style!


