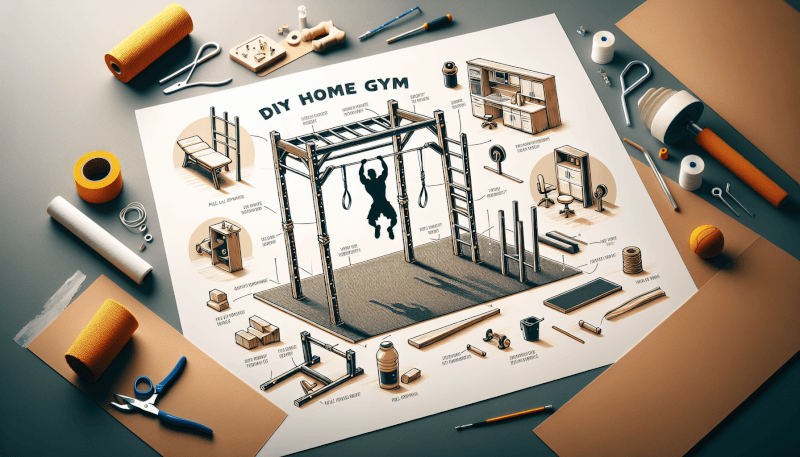
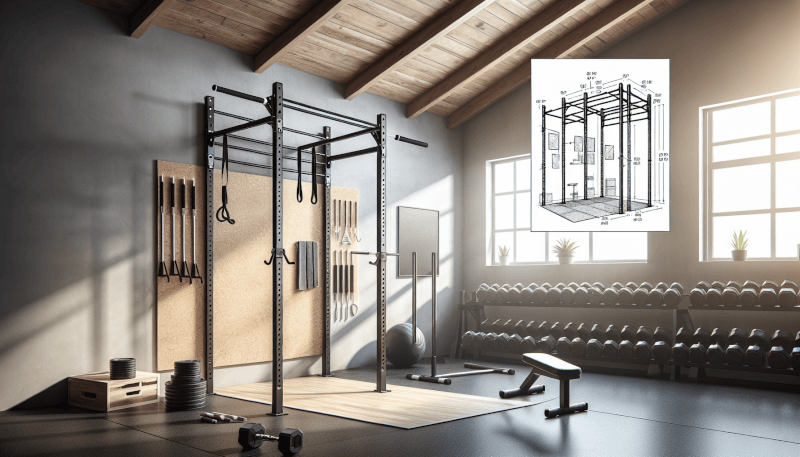
Ready to level up your home workouts? Say goodbye to expensive gym memberships and hello to your own DIY home gym pull-up bar! Building your own pull-up bar is easier than it sounds and can be done with just a few materials. In this article, we will guide you through the step-by-step process of constructing a pull-up bar that is sturdy, reliable, and perfect for your home gym needs. Get ready to get your sweat on and sculpt those arms with this simple and cost-effective DIY project.

Materials Needed
To build a DIY home gym pull-up bar, you will need several materials. These include steel pipe, wall brackets, a wooden bar, screws, and a drill. The steel pipe will serve as the main bar where you hang and perform your pull-up exercises. The wall brackets will provide support and stability for the bar. A wooden bar will be attached to the steel pipe for added grip and comfort. Screws will be used to secure the brackets, pipe, and bar in place. Finally, a drill will be necessary for drilling holes and attaching the different components.
Choosing the Right Location
Before you start building your pull-up bar, it’s important to consider the right location for installation. Firstly, you should take into account the ceiling height. Make sure there is enough space between the top of the bar and the ceiling for you to comfortably perform your exercises. Secondly, check the stability of the wall where you plan to install the bar. The wall should be strong and able to support your weight during workouts. Lastly, consider the available space in the room. Make sure there is enough room for you to fully extend your arms while hanging from the bar.

Measurements and Planning
To ensure a successful installation, take accurate measurements and do some planning beforehand. Determine the ideal bar height for your workouts. This will depend on your height and arm reach. Measure the wall space where you intend to install the bar, taking into account any obstacles like windows or doors. Once you have determined the measurements, mark the drilling points on the wall using a pencil or masking tape. This will serve as a guide during the installation process.
Preparing the Materials
Before you begin the actual installation, it’s important to prepare the materials. Start by cutting the steel pipe to the desired length using a pipe cutter or a hacksaw. Once the pipe is cut, use sandpaper to sand the edges and remove any sharp burrs. This will prevent any potential injuries during use. Additionally, sand and varnish the wooden bar to create a smooth and comfortable grip. Allow the varnish to dry completely before proceeding with the installation.

Installing the Wall Brackets
To provide support and stability, wall brackets need to be installed securely. Begin by locating the wall studs using a stud finder or by tapping on the wall to find the solid areas. These studs will provide the necessary strength to hold the pull-up bar. Once you have located the studs, align the brackets with the drilling points marked on the wall. Use a level to ensure they are straight and even. Once aligned, secure the brackets to the wall using screws.
Attaching the Steel Pipe
Once the brackets are securely installed, it’s time to attach the steel pipe. First, fit the pipe into the brackets, ensuring it is centered and level. The pipe should fit snugly into the brackets without any wobbling. Next, drill holes through the brackets and pipe using a drill bit suitable for the screws you will be using. This will create a secure connection between the pipe and brackets. Finally, secure the pipe in place by inserting screws through the drilled holes.

Mounting the Wooden Bar
To add an extra layer of comfort and grip, a wooden bar can be mounted on top of the steel pipe. Measure and mark drilling points on the wooden bar, ensuring they align with the pipe. Pre-drill holes in the wooden bar using a drill bit slightly smaller than the screws you will be using. This will prevent the wood from splitting when the screws are inserted. Once the holes are drilled, attach the wooden bar to the steel pipe by aligning the drilling points and inserting screws through the pre-drilled holes.
Testing for Stability
After the main components are installed, it’s important to test for stability before fully utilizing the pull-up bar. Hang from the bar briefly and check for any movement or flexing. If there is any instability or wobbling, make the necessary adjustments by tightening the screws or repositioning the brackets if needed. The pull-up bar should be stable and able to support your weight without any issues before use.

Adding Extra Features
Once the pull-up bar is securely installed, you can consider adding extra features to enhance your workout experience. Attach suspension straps to the bar to expand your exercise options and increase versatility. These straps allow you to perform various bodyweight exercises beyond just pull-ups. Additionally, you can install pull-up assist bands to help with progression and provide assistance if you are just starting or working towards more challenging exercises. To add extra comfort, consider attaching foam grips to the bar for a more ergonomic grip during your workouts.
Safety and Maintenance Tips
To ensure the longevity and safety of your DIY home gym pull-up bar, it’s important to follow some safety and maintenance tips. Regularly inspect the bar for any signs of wear and tear, such as loose screws or damaged components. Tighten any loose screws as necessary to maintain stability. Before each use, check the overall stability of the bar to ensure it is still securely attached to the wall. By following these safety and maintenance tips, you can enjoy a safe and effective workout experience with your DIY pull-up bar.
Building a DIY home gym pull-up bar can be a rewarding project that allows you to incorporate upper body strength training into your fitness routine. By carefully selecting the right materials, choosing a suitable location, taking accurate measurements, and following the installation steps, you can create a sturdy and reliable pull-up bar in the comfort of your own home. With the addition of extra features and regular maintenance, you can enjoy a versatile and safe workout experience that helps you achieve your fitness goals.


