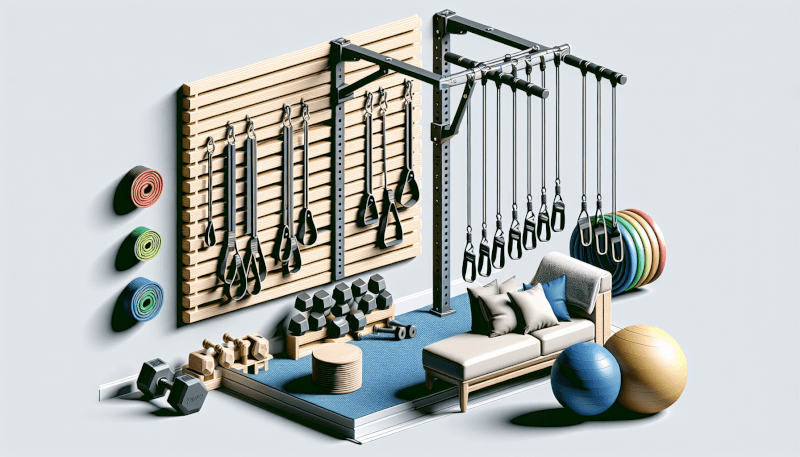
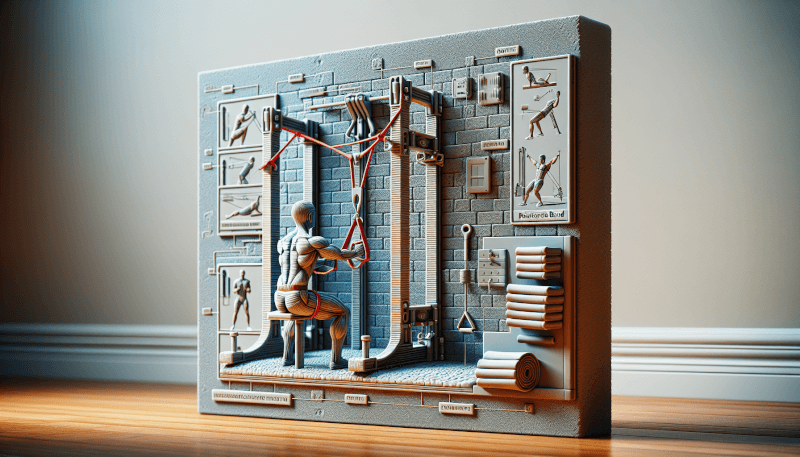
If you’re looking to build a home gym on a budget, incorporating resistance bands into your workout routine is a great option. But it’s important to have a sturdy and secure wall mount to ensure your safety and efficiency. In this article, discover some valuable tips and tricks for installing a DIY home gym resistance band wall mount. From finding the perfect location to choosing the right materials, we’ll guide you through the process so you can enjoy a successful and enjoyable workout experience in the comfort of your own home.
Choosing the Right Location for Your DIY Home Gym Resistance Band Wall Mount
When setting up your DIY home gym, one of the key factors to consider is the location for your resistance band wall mount. This decision will determine the functionality and convenience of your workout space. Here are some factors to consider when choosing the right location:
Consider the ceiling height
Before you start mounting your resistance band wall, consider the ceiling height in your chosen location. You will need enough clearance to perform your exercises without any restrictions. Make sure that your ceiling is high enough to allow for full range of motion during your workouts.
Evaluate the available space
Another factor to consider is the available space in the area where you plan to mount your resistance band wall. The size of the wall mount kit will determine how much space you need. Measure the dimensions of the kit and ensure that you have enough room to comfortably perform your workouts.
Ensure adequate wall support
It is crucial to ensure that your chosen location has adequate wall support. Resistance bands apply tension to the wall mount, so it is important to install it on a wall that can handle the load. Look for a wall with studs or an area that can support the weight and tension of the resistance bands.
Access to power outlets
Consider the proximity to power outlets when choosing the location for your resistance band wall mount. You may need to connect electrical devices such as speakers or monitors to enhance your workout experience. Having convenient access to power outlets will make it easier to set up and use these devices.
Consider noise and vibrations
If you live in an apartment or have neighbors in close proximity, consider the noise and vibrations that may be produced during your workouts. A location that minimizes noise and vibrations can help maintain a peaceful environment for you and those around you. Keep this in mind when choosing the location for your DIY home gym resistance band wall mount.
Gathering the Necessary Tools and Materials
To successfully install your DIY home gym resistance band wall mount, you will need the following tools and materials:
Resistance band wall mount kit
A resistance band wall mount kit will typically include the necessary brackets, screws, and anchor points for installation. Make sure to choose a kit that is compatible with your specific resistance bands and exercise needs.
Power drill and appropriate drill bits
A power drill will be necessary for drilling pilot holes and securing the wall mount brackets and mounting plate. Ensure that you have the appropriate drill bits for the type of wall material you will be drilling into.
Measuring tape
A measuring tape will help you accurately determine the distances and dimensions for installing your resistance band wall mount. Precise measurements will ensure proper placement and alignment.
Pencil or marker
Use a pencil or marker to mark the spots on the wall where you will be installing the resistance band wall mount brackets and mounting plate. Having these marks will help guide you during the installation process.
Screwdriver or screw gun
A screwdriver or screw gun will be needed to secure the screws that hold the wall mount brackets and mounting plate in place. Choose the appropriate tool for the type of screws included in your resistance band wall mount kit.
Level
A level will help ensure that your resistance band wall mount is properly aligned and balanced. This will prevent any issues with stability during your workouts.
Stud finder
A stud finder will help you locate the studs in your wall. Mounting your resistance band wall on studs will provide the necessary support and stability for your workouts.
Anchors and screws
Depending on the type of wall material you have, you may need to use anchors to provide additional support for the resistance band wall mount. Be sure to choose the appropriate anchors and screws for your specific wall type.
Optional: Paint and brush
If you want to customize the appearance of your resistance band wall mount, you may choose to paint it. Having paint and a brush on hand will allow you to add a personal touch to your DIY home gym.

Preparing the Wall and Mounting Surface
Before you begin installing your DIY home gym resistance band wall mount, it is essential to properly prepare the wall and mounting surface. Follow these steps to ensure a secure and stable installation:
Determine stud locations
Using a stud finder, locate the studs in your wall. This step is important as mounting your resistance band wall on studs will provide the necessary support and stability. Mark the stud locations with a pencil or marker.
Mark the spots for mounting
Using your measuring tape, determine the proper placement for your resistance band wall mount brackets and mounting plate. Mark these spots on the wall with a pencil or marker, ensuring that they align with the stud locations.
Drilling pilot holes
Using a power drill and the appropriate drill bit, drill pilot holes at the marked spots on the wall. These pilot holes will guide the screws during installation and help prevent any damage to the wall.
Using anchors for additional support
If your wall material requires anchors, insert them into the pilot holes. Make sure that the anchors are securely in place before proceeding with the installation. Follow the instructions provided with the anchors for proper installation.
Optional: Paint or finish the wall
Before installing the resistance band wall mount, you may choose to paint or finish the wall to enhance the appearance of your DIY home gym. If you decide to do so, make sure to complete this step before proceeding to the next section.
Installing the DIY Home Gym Resistance Band Wall Mount
Once you have prepared the wall and mounting surface, you are ready to install your DIY home gym resistance band wall mount. Follow these steps for a successful installation:
Attaching the wall mount bracket
Using the provided screws, attach the wall mount brackets to the marked spots on the wall. Make sure to secure the screws tightly to ensure stability.
Securing the mounting plate
Attach the mounting plate to the wall mount brackets using the provided screws. Make sure that it is securely fastened to provide a stable and secure base for your resistance bands.
Connecting the resistance band anchor points
Depending on the design of your resistance band wall mount, connect the anchor points to the mounting plate. Follow the instructions provided with your resistance band wall mount kit for the correct installation method.
Double-checking the stability
Once you have attached the anchor points, double-check the stability of your resistance band wall mount. Give it a gentle shake to ensure that it is securely in place and does not wobble or move.
Testing the resistance band wall mount
Before using your resistance bands, test the mount by applying some tension and pulling on the anchor points. This will help ensure that the wall mount can handle the resistance and pressure of your workouts. Make any necessary adjustments or tighten any loose screws if needed.

Safety Considerations
When using a resistance band wall mount for your home gym, it is important to prioritize safety. Here are some safety considerations to keep in mind:
Ensuring proper weight capacity
Check the weight capacity of your resistance band wall mount and make sure that it can safely support your body weight and the tension of your resistance bands. Exceeding the weight capacity can lead to structural failure and potential injuries.
Inspecting the wall mount regularly
Regularly inspect your resistance band wall mount for any signs of wear, damage, or loose screws. Address any issues promptly to maintain the stability and safety of your installation.
Checking resistance band condition
Inspect your resistance bands regularly for any signs of wear, fraying, or damage. Replace worn-out bands to prevent accidents or injuries during your workouts.
Using appropriate protective equipment
During your workouts, use appropriate protective equipment such as gloves, proper footwear, and padding if necessary. This will help prevent injuries and provide added comfort and support.
Customizing Your DIY Home Gym Resistance Band Wall Mount
Once you have installed your DIY home gym resistance band wall mount, you can personalize it to suit your preferences and needs. Here are some ways to customize your wall mount:
Painting or decorating the wall mount
If you want your resistance band wall mount to blend in with your home gym decor, consider painting or decorating it. Choose colors or patterns that inspire you and make your workout space more inviting.
Adding additional storage options
Maximize the functionality of your resistance band wall mount by adding hooks or shelves for storing accessories such as resistance bands, handles, or towels. This will help keep your workout area organized and clutter-free.
Using multiple resistance band mounts
If you have multiple sets of resistance bands or want to vary the tension levels, consider installing multiple resistance band mounts on different walls. This will allow you to easily switch between different bands or exercises without having to constantly adjust the tension.
Incorporating other fitness equipment
If you have other fitness equipment such as a pull-up bar or dip station, consider incorporating them into your resistance band wall mount setup. This will provide additional exercise options and maximize the efficiency of your workouts.

Maintaining and Caring for Your Resistance Band Wall Mount
To ensure the longevity and optimal performance of your resistance band wall mount, it is important to take proper care of it. Here are some maintenance tips:
Cleaning and dusting the wall mount regularly
Regularly clean and dust your resistance band wall mount to prevent any buildup of dirt or debris. Use a soft cloth or brush to gently remove any dust or particles that may accumulate over time.
Inspecting for any signs of wear or damage
Periodically inspect your resistance band wall mount for any signs of wear, rust, or damage. Address any issues promptly to prevent further deterioration or compromise in the stability of your installation.
Replacing worn-out parts or bands
If you notice any worn-out parts or damaged bands, replace them immediately. Using compromised equipment can lead to accidents or injuries during your workouts.
Regularly tightening any loose screws or bolts
Over time, screws or bolts may become loose due to the constant tension and use of the resistance band wall mount. Regularly check and tighten any loose screws or bolts to maintain the stability and safety of your installation.
Tips for Maximizing Your Workout with the Resistance Band Wall Mount
Now that you have successfully installed your DIY home gym resistance band wall mount, here are some tips to maximize your workout experience:
Utilizing different resistance bands
Take advantage of the versatility of resistance bands by using different levels of resistance. This will allow you to progressively challenge yourself and target different muscle groups during your workouts.
Incorporating various exercises
Explore different exercises that can be performed with your resistance bands. From traditional strength training exercises to Pilates and yoga-inspired movements, there are countless ways to use resistance bands to target specific muscle groups and enhance your overall fitness.
Progressing in resistance and difficulty
As you become stronger and more comfortable with your resistance band workouts, gradually increase the resistance or difficulty level. This will help prevent plateaus and ensure continued progress and improvement in your fitness goals.
Seeking professional guidance
If you are new to resistance band training or unsure about proper form and technique, consider seeking guidance from a fitness professional or trainer. They can provide valuable insights, correct any form errors, and help you design an effective resistance band workout program.

Troubleshooting Common Issues During Installation
While installing your DIY home gym resistance band wall mount, you may encounter some common issues. Here are some troubleshooting tips:
No studs or sturdy walls available
If you cannot locate any studs or have walls that are not sturdy enough for mounting the resistance band wall, consider using alternative mounting methods such as floor-based or door-based setups. These options can provide the necessary support and stability for your workouts.
Unlevel mount or anchor points
If you find that your resistance band wall mount or anchor points are unlevel, make adjustments by loosening the screws and repositioning them. Use a level to ensure proper alignment before tightening the screws again.
Weak or unstable anchor points
If you experience weak or unstable anchor points, check if the anchors are securely in place and tighten any loose screws. If the issue persists, consider using stronger or larger anchors for added support.
Difficulty in securing the mount
If you encounter difficulties in securing the wall mount brackets or mounting plate, make sure that the pilot holes are drilled properly and that you are using the correct size of screws. Adjust the depth of the pilot holes if needed or choose longer screws for a more secure fit.
Conclusion
Having a DIY home gym resistance band wall mount can greatly enhance your workout experience and make exercising more convenient and effective. By choosing the right location, gathering the necessary tools and materials, properly preparing the wall and mounting surface, and following the installation steps, you can create a safe and functional space for your resistance band workouts. Remember to prioritize safety, regularly maintain and care for your wall mount, and consider customization options to personalize your workout area. With proper installation and usage, your resistance band wall mount will provide you with endless exercise possibilities and help you achieve your fitness goals.


