Looking to amp up your home workout routine? Look no further than the DIY Home Gym Plyometric Box: A Step-by-step Guide. This handy article provides you with all the information you need to create your very own plyometric box for an exhilarating and effective workout. With easy-to-follow instructions and a friendly tone, you’ll be able to construct your own box in no time. Say goodbye to expensive gym memberships and hello to a personalized fitness experience right in the comfort of your own home. Get ready to jump, sweat, and feel the burn with this exciting DIY project.
Materials and Tools
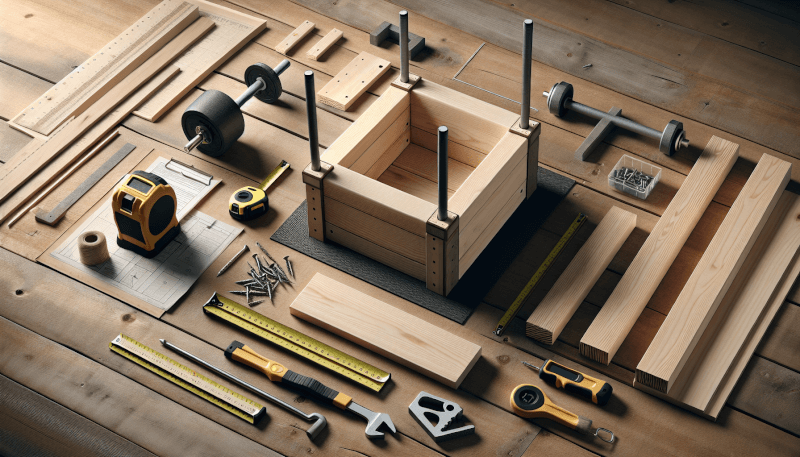
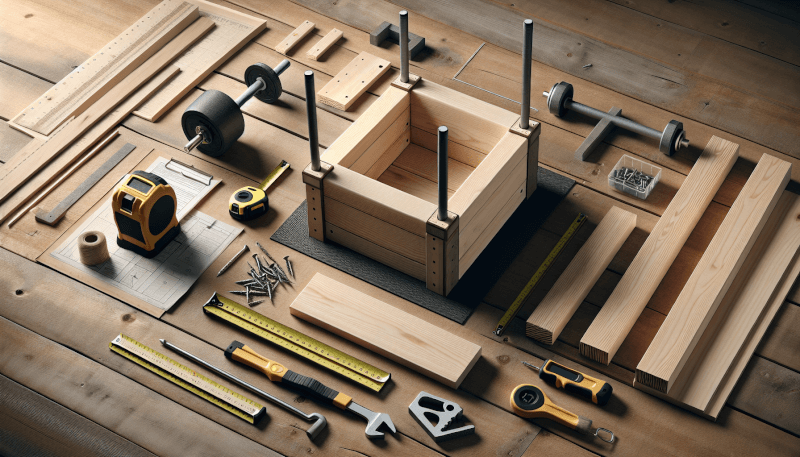
To build your own plyometric box, you will need the following materials and tools:
Plywood
Plywood is the main material used for constructing the box. It is sturdy and provides a solid base for plyometric exercises.
Screws
Screws are essential for securing the plywood panels together. Opt for durable screws that are long enough to penetrate the thickness of the plywood.
Wood glue
Wood glue adds extra stability to the joints of the box. Applying wood glue before securing the panels with screws ensures a strong and durable construction.
Measuring tape
A measuring tape is necessary to accurately determine the dimensions of the box. Measure twice to ensure precision and avoid any mistakes during the construction process.
Pencil
A pencil is needed to mark the plywood panels according to the measurements. These markings serve as a guide for cutting and assembling the box.
Circular saw
A circular saw is the ideal tool for cutting the plywood panels. It provides clean and straight cuts, ensuring the panels fit together seamlessly.
Power drill
A power drill is used to create pilot holes for the screws. This helps prevent the plywood from splitting when the screws are driven in.
Screwdriver
A screwdriver is used to tighten the screws and secure the plywood panels together.
Clamps
Clamps are essential for holding the plywood panels in place during assembly. They help ensure the panels are properly aligned for a neat and stable box.
Sandpaper
Sandpaper is used to smoothen the edges and surfaces of the box. It creates a safe and comfortable surface for performing plyometric exercises.
Step 1: Measure and Mark
The first step in building your plyometric box is to determine the dimensions of the box. Consider your fitness goals and skill level when deciding on the size. Once you have determined the dimensions, use a measuring tape to mark the plywood panels accordingly. Measure twice to ensure accuracy and avoid any errors.

Step 2: Cut the Plywood Panels
Using a circular saw, carefully cut the plywood panels according to the measurements taken in the previous step. Take your time and ensure the cuts are accurate and straight. This will ensure that the panels fit together properly during assembly.
Step 3: Assemble the Box
Lay out the plywood panels on a flat surface, aligning them according to the marked measurements. Apply wood glue along the edges of the panels for added stability. Secure the panels together using screws, driving them through the pilot holes created with a power drill. Use clamps to hold the panels in place as the glue dries, ensuring a sturdy and neat box.

Step 4: Reinforce the Corners
To add extra support to the corners of the box, use additional screws or corner brackets. This will reinforce the box and prevent any wobbling or instability during use. Pay extra attention to the corners, as they endure the most stress during plyometric exercises.
Step 5: Sand and Finish
After the box is assembled, use sandpaper to smoothen the edges and surfaces. This will remove any rough spots or splinters, creating a safe and comfortable surface for your exercises. Once sanded, you can apply a protective finish such as varnish or paint to enhance the durability and aesthetics of the box.

Step 6: Optional Modifications
Depending on your preferences and needs, you can make some optional modifications to your plyometric box. Consider adding handles to facilitate easier transportation and storage. Attaching non-slip surfaces on the top of the box will provide grip and prevent any slipping during exercises. Additionally, you can adjust the height of the box to cater to different skill levels and exercise variations.
Step 7: Safety Precautions
Before using your plyometric box, it’s important to take some safety precautions. Ensure that the box is stable and secure, with no loose or wobbly parts. Use a spotter or safety equipment when performing exercises to avoid injuries. Place the box on a non-slip surface to prevent it from sliding during intense workouts.

Step 8: Plyometric Exercises
Now that your DIY plyometric box is ready, it’s time to put it to good use. Plyometric exercises are designed to improve power, speed, and explosiveness.
Jumping onto the box: Stand in front of the box and jump onto it with both feet, landing softly and fully extending your hips. Repeat for multiple repetitions.
Step-ups and lateral step-ups: Step up onto the box using one leg, then step down and alternate to the other leg. For a variation, perform lateral step-ups by stepping onto the box from the side.
Box jumps with different heights: Adjust the height of the box to challenge yourself and improve your jumping abilities. Jump onto the box, landing with control and stability.
Depth jumps: Stand on top of the box and step off, immediately jumping as high as possible upon landing. This exercise improves explosive power and coordination.
Bulgarian split squats: Place one leg on the box behind you, and the other foot on the ground in a lunge position. Lower your back knee towards the ground and then lift back up. This exercise targets your legs and glutes.
Push-ups with feet on the box: Assume a push-up position with your feet elevated on the box. Perform push-ups, engaging your core and upper body.
Tricep dips using the box: Sit on the edge of the box, place your hands beside your hips, and extend your legs in front of you. Lower your body by bending your elbows, then push back up to the starting position. This exercise targets your triceps.
Conclusion
Building your own plyometric box can be a rewarding and cost-effective way to enhance your home gym setup. By following these step-by-step instructions, you can create a versatile and functional piece of equipment that allows you to perform a variety of plyometric exercises. Not only will you save money compared to purchasing a pre-made box, but you’ll also have the satisfaction of knowing that you built it yourself. So grab your materials and tools, and get ready to take your fitness routine to the next level with your very own DIY plyometric box!


