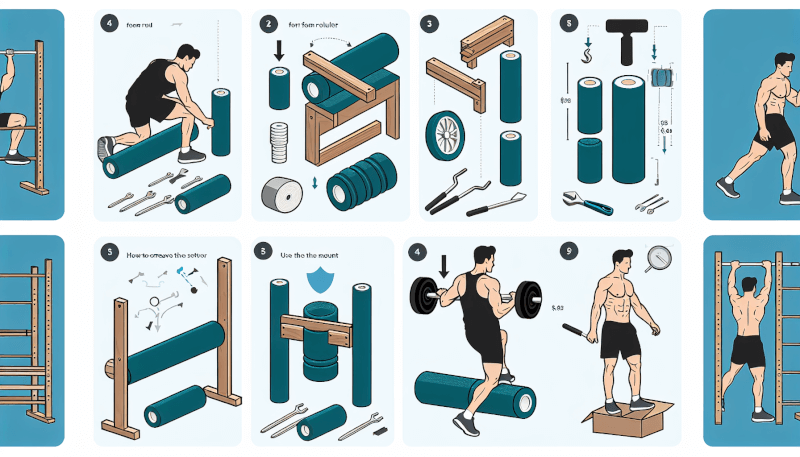
If you’re looking to enhance your home workouts and take your foam rolling sessions to the next level, then this step-by-step guide is perfect for you. In this article, you’ll discover a simple and cost-effective way to create your very own foam roller mount for your home gym. With easy-to-follow instructions and readily available materials, you’ll be able to elevate your foam rolling routine and achieve better results in no time. Say goodbye to sore muscles and hello to a more effective fitness routine with this DIY home gym foam roller mount.

Materials Needed
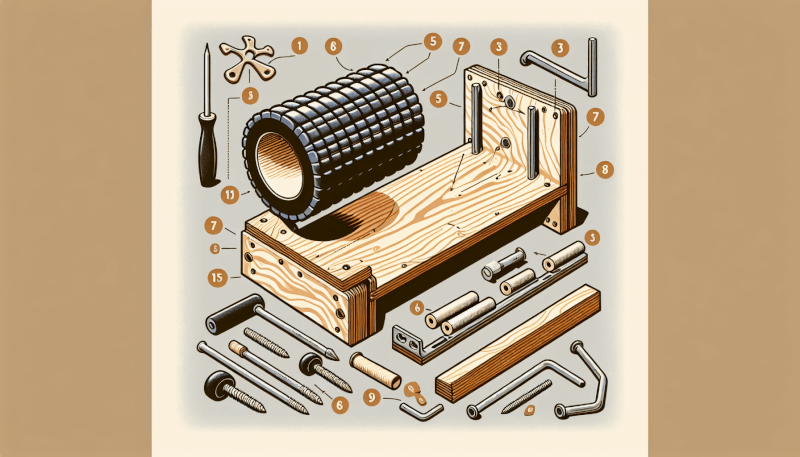
To build your DIY foam roller mount, you will need the following materials:
Foam Roller
A foam roller is the main component of your mount and will be used to roll out your muscles. Make sure to choose a foam roller with a size and density that suits your needs.
Plywood Board
The plywood board will serve as the base of your foam roller mount. It should be thick enough to provide stability and support the weight of the foam roller.
L-shaped Metal Brackets
L-shaped metal brackets will be used to attach the plywood board to the wall. These brackets should be durable and strong enough to hold the weight of the foam roller.
Wood Screws
Wood screws are necessary to secure the L-shaped brackets to the wall and attach the plywood board to the brackets. Make sure to choose screws that are appropriate for the thickness of your plywood board.
Measuring Tape
A measuring tape is needed to measure the desired width of your foam roller mount and determine the mounting height.
Drill
A drill will be used to attach the L-shaped brackets to the wall and secure the plywood board to the brackets.
Saw
A saw is required to cut the plywood board to the desired width of your foam roller mount.
Sanding Block
A sanding block is essential to smooth the edges and surfaces of the plywood board before painting.
Paint and Paintbrush
Paint and a paintbrush are needed to add a finishing touch to your plywood board. Choose a paint color that matches your home gym and is suitable for wood surfaces.
Level
A level will help ensure that your foam roller mount is mounted straight and level on the wall.
Now that you have gathered all the necessary materials, let’s proceed to the next step.
Step 1: Measure and Cut Plywood Board
The first step in building your DIY foam roller mount is to measure and cut the plywood board to the desired width. Use a measuring tape to determine the width that will accommodate your foam roller.
Once you have measured the width, use a saw to cut the plywood board accordingly. Make sure to cut it straight and smooth to achieve a clean finish.
Step 2: Sand and Paint the Plywood Board
After cutting the plywood board, it’s important to smooth the edges and surfaces using a sanding block. This will prevent any splinters and create a polished appearance.
Next, apply a coat of paint to the plywood board. Choose a color that complements your home gym and adds a touch of personalization. Allow the paint to dry completely before proceeding to the next step.
Step 3: Determine Mounting Height and Location
Before mounting your foam roller, you need to determine the ideal location and height. Consider the available space in your home gym and the accessibility of the foam roller mount.
Using a measuring tape and level, measure and mark the desired mounting height on the wall. This will ensure that your foam roller is at a comfortable height for your workouts.

Step 4: Position and Attach L-shaped Metal Brackets
Now it’s time to position and attach the L-shaped metal brackets. Hold the plywood board against the wall at the desired mounting location. Place the brackets on each corner of the plywood board, ensuring they are lined up properly.
Using a drill, mark the screw holes on the wall through the holes in the brackets. This will serve as a guide when attaching the brackets to the wall. Once you have marked the holes, proceed to attach the brackets to the wall using wood screws.
Step 5: Attach Plywood Board to Brackets
With the L-shaped brackets securely attached to the wall, it’s time to attach the plywood board. Align the holes in the plywood board with the brackets and insert wood screws through the holes to secure the board.
Make sure the screws are tightened properly to ensure the stability of your foam roller mount. You can use a drill to tighten the screws, but be careful not to overtighten and damage the plywood board.

Step 6: Test and Adjust
After attaching the plywood board, it’s important to test the stability of your foam roller mount. Place a foam roller on top of the mount and apply pressure to check if it remains sturdy and balanced.
If you notice any wobbling or instability, make necessary adjustments to the screws and brackets. Tighten any loose screws and ensure that the brackets are properly aligned. This step is crucial to ensure the safety and effectiveness of your foam roller exercises.
Step 7: Enjoy Your DIY Foam Roller Mount
Congratulations! You have successfully built a DIY foam roller mount for your home gym. Now it’s time to enjoy the benefits of having a dedicated space for your foam rolling exercises.
Place your foam roller on the mount and begin incorporating it into your workout routine. Foam rolling is a great way to release muscle tension, improve flexibility, and aid in recovery. Make sure to follow proper foam rolling techniques for maximum benefit.

Tips and Precautions
Here are some useful tips and precautions to keep in mind when building and using your DIY foam roller mount:
Choose a sturdy plywood board to ensure stability. Opt for a thick and durable board that can support the weight of your foam roller.
Consider painting the plywood board in a color that matches your home gym. This will not only add a touch of aesthetic appeal but also enhance the overall look of your foam roller mount.
Make sure the foam roller mount is securely attached to the wall before use. Regularly check the screws and brackets for any signs of loosening and tighten them if necessary.
Regularly check the screws and brackets for any signs of loosening and tighten them if necessary.
Use the foam roller mount only for its intended purpose. Do not use it for activities other than foam rolling as it may compromise its stability and safety.
Conclusion
Building a DIY foam roller mount for your home gym is an affordable and practical solution to enhance your workouts. By following this step-by-step guide, you can create a stable and functional foam roller mount that will provide you with the convenience and comfort you need.
Enjoy the benefits of having a dedicated space for your foam roller exercises and take your home gym setup to the next level. Remember to prioritize safety and proper form when using your foam roller mount to maximize its effectiveness. Happy foam rolling!


