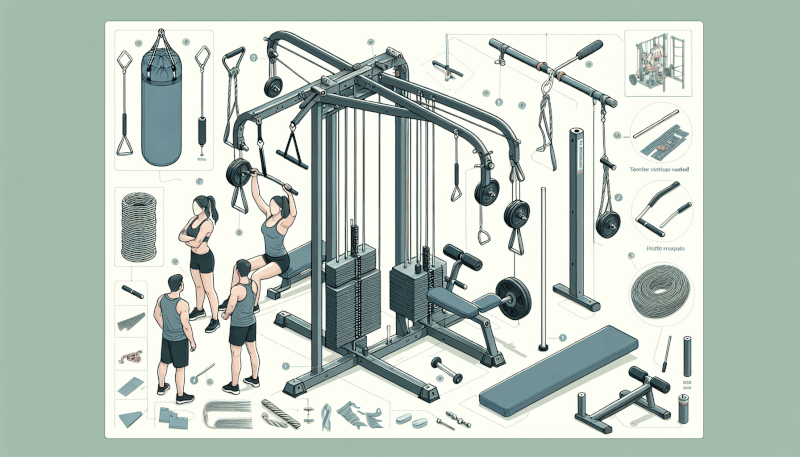
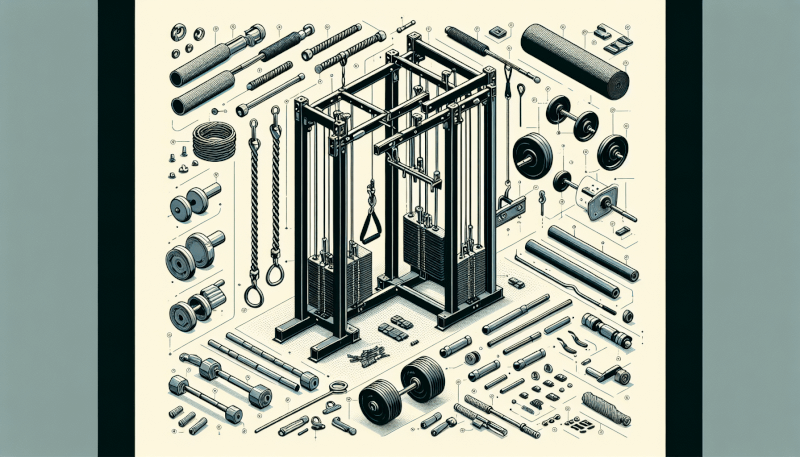
Have you ever dreamed of having your own home gym to save time and money on a gym membership? Look no further! In this article, we will show you how to build your very own DIY home gym cable machine. With just a few simple materials and some basic tools, you can have a versatile and effective workout station right in the comfort of your own home. Say goodbye to crowded gyms and hello to convenience and freedom in reaching your fitness goals. Let’s get started on creating the perfect home gym setup that suits your needs and preferences.
Materials and Tools
Required materials
To build your own DIY home gym cable machine, you will need a variety of materials. The basic materials you will need include:
- Wood for the frame
- Pulleys
- Cable
- Weights
- Weight plates
- Handles
- Screws and bolts
Additional materials you may need, depending on your design and preferences, include:
- Pull-up bar
- Bench
- Attachments for different exercise variations
Necessary tools
In addition to the materials, you will also need certain tools to assemble your DIY home gym cable machine. These tools include:
- Measuring tape
- Saw
- Drill
- Screwdriver
- Wrench
- Cable cutter
Having these materials and tools ready before you start building will greatly facilitate the process.
Choosing the Right Space
Before you start building your DIY home gym cable machine, it’s important to choose the right space where you will install it. Consider the following factors when selecting the area:
- Ample space: Make sure there is enough room for the machine itself and for you to move around comfortably while exercising.
- Ceiling height: Check the height of the ceiling to ensure that it will accommodate the full range of motion for exercises like lat pulldowns or cable curls.
- Ventilation: Ensure that the space has adequate ventilation to keep you comfortable during your workouts.
- Flooring: Consider the type of flooring in the chosen area. It should be sturdy and non-slip to ensure your safety during exercise.

Designing Your Cable Machine
Determining the cable length
Before you start building your DIY home gym cable machine, you need to determine the appropriate cable length. Take into account the height of the pulleys and the distance between them, as well as any additional attachments or accessories you plan to include. It’s better to have extra length and trim it down if necessary, rather than ending up with a cable that is too short.
Selecting the pulley system
Choosing the right pulley system is crucial for the functionality of your DIY home gym cable machine. There are different types of pulleys available, such as single pulleys, double pulleys, and even more complex setups. Consider the exercises you plan to perform and the range of motion each pulley system allows for. Additionally, ensure that the pulleys you choose can withstand the weight you intend to use.
Choosing the weights
The choice of weights for your DIY home gym cable machine depends on your fitness goals and current strength level. Consider the exercises you plan to perform and the desired level of resistance. You can opt for traditional weight plates or adjustable weight stacks that allow you to easily change the load.
Building the frame
Now it’s time to build the frame of your DIY home gym cable machine. Start by measuring and cutting the wood according to your design and the dimensions needed for the machine. Ensure that the cuts are precise to ensure stability and safety. Once the pieces are cut, assemble them according to your design using screws and bolts to secure the joints. A sturdy frame is essential for the durability and safety of your cable machine.
Building the Frame
Measuring and cutting the wood
To start building the frame of your DIY home gym cable machine, measure the desired dimensions and cut the wood accordingly. Use a measuring tape to determine the lengths required for each piece of the frame. Double-check your measurements and make precise cuts to ensure everything fits together properly.
Assembling the frame
Once the wood pieces are cut, it’s time to assemble the frame. Lay out the pieces according to your design and use screws and bolts to secure them together. Start by attaching the base and work your way up, adding the sides and top for stability. Ensure that all joints are tight and secure before moving on to the next step.
Attaching the pulleys
With the frame assembled, it’s time to attach the pulleys. Determine the appropriate placement for the pulley system based on your design and the desired range of motion. Use screws or bolts to mount the pulleys securely to the frame, ensuring that they are aligned for smooth operation.

Installing the Pulley System
Determining the pulley placement
Before installing the pulley system, carefully determine the best placement based on your workout needs and available space. Consider the exercises you plan to perform and the angles at which you’ll need the cables to run. The pulley system should allow for a full range of motion and provide enough clearance for your body to move freely during exercises.
Mounting the pulleys
Once you have determined the placement, mount the pulleys to the frame using screws or bolts. Ensure that they are securely fastened to prevent any wobbling or instability during use. It’s essential for the pulleys to be in the correct position to ensure proper cable movement and exercise execution.
Securing the cables
Once the pulleys are in place, it’s time to secure the cables. Thread the cable through the pulleys, ensuring that it runs smoothly and without any obstructions. Use cable clamps or other appropriate fasteners to secure the cable at the desired length. Double-check the tension and make any necessary adjustments to ensure proper functioning.
Adding the Weight Stack
Selecting weight plates
When adding a weight stack to your DIY home gym cable machine, you have the option of using traditional weight plates or an adjustable weight stack system. Consider your fitness goals, the exercises you plan to perform, and your budget when selecting weight plates. Ensure that the weight plates you choose fit securely on the weight stack without any risk of slipping or falling off during exercise.
Creating the weight stack
To create the weight stack, stack the weight plates on top of each other, starting with the heaviest plate at the bottom. Use a weight plate tree or pegs attached to the frame to keep the weight plates organized and prevent them from rolling or shifting. Make sure that the weight stack is balanced and stable to ensure safe and effective workout sessions.
Securing the weights
Once the weight stack is created, make sure to secure the weights in place. This can be done using a weight plate lock or collar placed on the topmost weight plate. Ensure that the weights are firmly secured to prevent any shifting or movement during exercise.

Assembling the Cable
Cutting the cable
To assemble the cable for your DIY home gym cable machine, you will need to cut it to the appropriate length. Measure the distance from the handle attachment point to the pulley attachment point, taking into account the desired range of motion for the exercises you plan to perform. Use a cable cutting tool to make clean and precise cuts.
Installing the cable
Once the cable is cut to the correct length, install it on your DIY home gym cable machine. Thread one end of the cable through the handle attachment point and secure it tightly. Then, thread the other end through the pulley system and attach it securely to the weight stack or any other appropriate mounting point. Ensure that the cable runs smoothly through the pulleys without any kinks or obstructions.
Attaching the handle
After the cable is installed, it’s time to attach the handle. Choose a handle that is comfortable to grip and appropriate for the exercises you plan to perform. Attach the handle securely to the cable using appropriate attachments or fasteners. Test the handle’s stability and adjust as necessary to ensure a secure and comfortable grip.
Adding Extra Accessories
Incorporating a pull-up bar
If you have the space and desire to include a pull-up bar in your DIY home gym cable machine, now is the time to do so. Attach the pull-up bar securely to the frame, ensuring that it can support your weight. A pull-up bar adds versatility to your cable machine and allows you to incorporate bodyweight exercises into your workouts.
Including a bench
To enhance the functionality of your DIY home gym cable machine, consider incorporating a bench into your design. A bench provides support and stability for exercises such as bench presses, incline presses, and seated rows. Choose a bench that is sturdy, adjustable, and suits your workout needs.
Adding attachments for different exercises
To expand the range of exercises you can perform on your DIY home gym cable machine, consider adding attachments. Attachments such as rope handles, straight bars, and ankle straps allow you to target different muscle groups and perform a variety of exercises. Choose attachments that are compatible with your cable machine and that align with your fitness goals.

Safety Precautions
Ensuring stability and balance
One of the most important safety precautions when using a DIY home gym cable machine is to ensure stability and balance. Ensure that your machine is securely bolted to the floor or against a stable wall to prevent any wobbling or tipping during exercise. Additionally, check the alignment of the pulleys, cables, and weights regularly to ensure everything is in proper working order.
Checking for frayed cables
Regularly inspect the cables on your DIY home gym cable machine for any signs of fraying or wear. Frayed cables can pose a serious safety hazard and should be replaced immediately. Inspect the cables before each workout and replace any damaged ones promptly.
Regular maintenance
To ensure the longevity and safety of your DIY home gym cable machine, perform regular maintenance. This includes checking and tightening any loose screws or bolts, lubricating the pulley system as needed, and cleaning any dirt or debris that may accumulate. Regular maintenance will keep your machine in optimal working condition and reduce the risk of accidents or malfunctions.
Using Your DIY Home Gym Cable Machine
Proper warm-up and stretching
Before starting any exercise on your DIY home gym cable machine, it’s crucial to properly warm up your muscles and stretch. Warm-up exercises increase blood flow, raise body temperature, and prepare your muscles for the upcoming workout. Perform dynamic stretches that reflect the movements you’ll be doing during your workout to prevent injuries and optimize your performance.
Exercises for different muscle groups
Your DIY home gym cable machine offers a range of exercises that target various muscle groups. Experiment with different attachments and cable positions to effectively work your chest, back, shoulders, arms, and legs. Some exercises you can perform include cable chest flyes, lat pulldowns, cable bicep curls, tricep pushdowns, cable seated rows, and cable squats. Incorporate a variety of exercises to ensure a well-rounded workout.
Monitoring your form
When using your DIY home gym cable machine, it’s essential to maintain proper form throughout your workouts. Ensure that you have a neutral spine, engage your core, and use controlled movements to prevent strain or injury. If you are unsure about the correct form for a particular exercise, seek guidance from a qualified fitness professional or refer to reputable instructional resources.
By following these instructions and guidelines, you can successfully build your own DIY home gym cable machine. With attention to detail, regular maintenance, and proper usage, you’ll have a versatile fitness tool that allows for a wide range of exercises in the comfort of your own home. Enjoy your workouts and stay safe!


