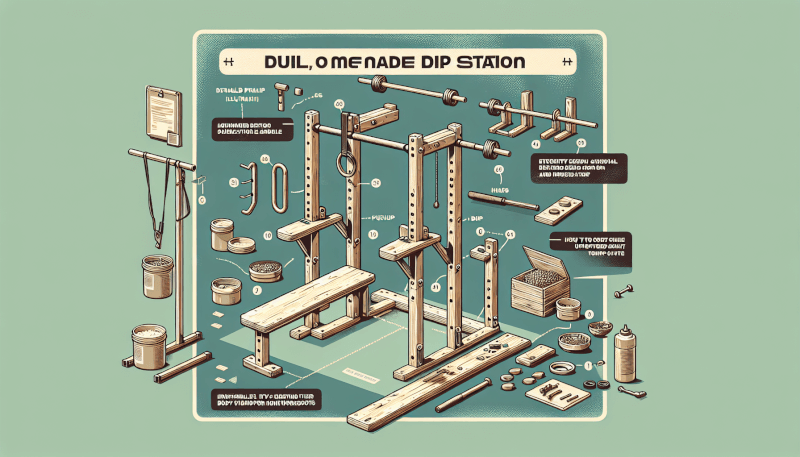
So, you’re ready to take your home workouts to the next level and build your own dip station? Look no further! In this article, we’ll show you step-by-step instructions on how to create a DIY home gym dip station that is both sturdy and affordable. Whether you’re a beginner or a seasoned fitness enthusiast, this project is perfect for anyone looking to add an effective upper body exercise to their workout routine. Get ready to strengthen your arms, chest, and shoulders with this simple yet effective piece of equipment!

Materials Needed
To build a DIY home gym dip station, you will need the following materials:
Steel pipes
Steel pipes will serve as the main structural component of your dip station. Select pipes that are strong and durable to ensure stability during your workouts.
Pipe connectors
Pipe connectors are essential for joining the different sections of steel pipes together. Make sure to choose connectors that are compatible with the size of your steel pipes.
Floor flanges
Floor flanges will be used to secure the dip station to the ground. Look for flanges that are sturdy and resistant to corrosion.
Wooden board
A wooden board will be the platform where you place your hands during the dips. Choose a thick and strong wooden board that can withstand your body weight.
Screws
Screws are necessary for attaching the floor flanges to the wooden board. Make sure to get screws that are long enough to securely fasten the flanges to the board.
Drill
A drill will be used to create pilot holes for the screws. Make sure your drill is equipped with a drill bit that matches the size of your screws.
Wrench
A wrench will be needed to tighten the connections between the steel pipes and the floor flanges. Ensure you have a wrench that fits the size of your pipe connectors.
Measuring tape
A measuring tape will be used to determine the desired dimensions for your dip station and to measure the length of the steel pipes.
Paint or primer
Paint or primer can be used to add a finishing touch to your dip station. Consider using paint or primer that is suitable for steel surfaces.
Sandpaper
Sandpaper will be used to smooth out any rough edges on the steel pipes and wooden board. Choose sandpaper with a suitable grit for your specific needs.
Preparing the Workspace
Before you start building your DIY home gym dip station, it’s important to prepare your workspace properly. Follow these steps to ensure a smooth construction process:
Choose an appropriate location
Select a location in your home or garage that is suitable for your dip station. Consider factors such as space availability, ceiling height, and flooring type.
Clear the area
Remove any furniture or objects that might obstruct your workspace. Clearing the area will provide enough room for you to move around and work comfortably.
Ensure proper ventilation
Since you will be using paint or primer, it’s important to ensure that your workspace is well-ventilated. Open windows or use fans to promote air circulation.
Protect surrounding surfaces
Cover nearby surfaces, such as the floor and walls, with protective sheets or drop cloths. This will prevent accidental spills or scratches during the construction process.
Gather necessary tools
Make sure you have all the necessary tools within reach before you begin. Having everything prepared will save you time and prevent interruptions during the project.

Measurements and Planning
Once your workspace is ready, it’s time to start measuring and planning the dimensions of your dip station. Follow these steps to ensure accurate measurements and a well-designed dip station:
Determine desired height and width
Decide on the height and width that will be most comfortable for your workouts. Take into consideration your own height and arm span to determine the dimensions.
Calculate pipe lengths
Using your desired height and width, calculate the length of each steel pipe needed for the dip station. Use a measuring tape to measure and mark the pipe lengths accordingly.
Outline design on wooden board
Transfer your measurements onto the wooden board by marking the positions for the floor flanges and the dip bars. Make sure the markings are clear and easily visible.
Mark the positions for floor flanges
Using the outlined design, mark the positions on the wooden board where the floor flanges will be attached. These marks will serve as a guide during the installation process.
Cutting and Assembling the Steel Pipes
Now it’s time to cut and assemble the steel pipes for your dip station. Follow these steps to ensure precise cuts and secure connections:
Measure and mark pipe lengths
Using the measurements you calculated earlier, measure and mark the lengths of each steel pipe. Double-check your measurements to ensure accuracy.
Cut pipes using a pipe cutter
Using a pipe cutter, carefully cut the steel pipes along the marked lines. Follow the instructions for the specific pipe cutter you are using to ensure clean and straight cuts.
Deburr and sand the cut ends
After cutting the pipes, use sandpaper to deburr and smooth out any rough or sharp edges. This will prevent any potential injuries or damage to the connectors or your hands.
Attach pipe connectors
Attach the pipe connectors to the cut ends of the steel pipes. Ensure that the connectors are securely fastened to provide a stable and strong connection between the pipes.

Attaching the Floor Flanges
The floor flanges will serve as the base support for your dip station. Follow these steps to properly attach the flanges to the wooden board:
Align flanges with marked positions
Position the floor flanges on the wooden board, aligning them with the marked positions you made earlier. Ensure that the flanges are centered and evenly spaced.
Drill pilot holes
Using a drill, create pilot holes through the pre-marked holes on the floor flanges. Make sure the pilot holes are slightly smaller in diameter than the screws you will use.
Secure flanges with screws
Place the floor flanges back onto the wooden board, aligning them with the pilot holes. Use a screwdriver or drill to secure the flanges to the board by inserting screws into the pilot holes.
Check for stability
Once the floor flanges are securely attached, test the stability of the dip station by applying gentle pressure. Ensure that the dip station does not wobble or move significantly.
Attaching the Steel Pipes to Flanges
Now it’s time to connect the steel pipes to the floor flanges. Follow these steps to ensure a secure and stable connection:
Apply primer or paint (optional)
If desired, you can apply a coat of primer or paint to the steel pipes to protect them from corrosion or to enhance their appearance. Follow the instructions on the primer or paint for proper application.
Insert pipes into flanges
Gently insert the ends of the steel pipes into the floor flanges. Make sure the pipes are inserted fully and securely into the flanges to ensure stability during your workouts.
Use wrench to tighten connections
Using a wrench, tighten the connections between the steel pipes and the floor flanges. Ensure that the connections are firm and secure, but be careful not to overtighten.
Test stability and adjust if needed
Once the steel pipes are attached, test the stability of the dip station by applying pressure to different areas. If the station feels unstable, check the connections and adjust as necessary.
Building the Dip Station Bars
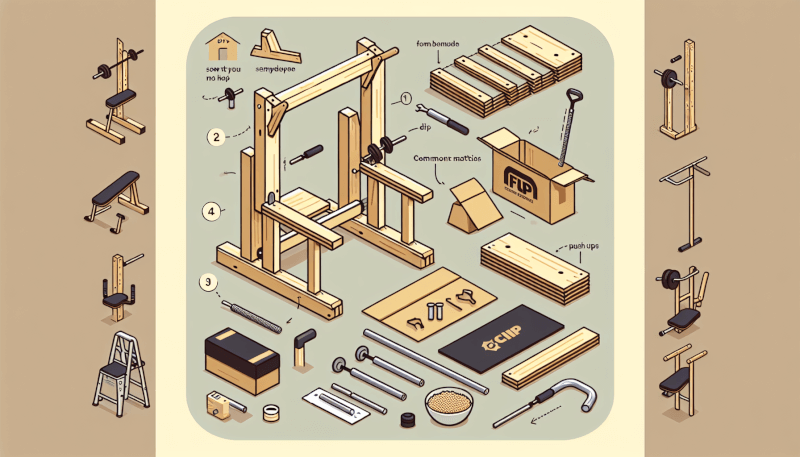
The dip station bars will provide the surface for your hands during the dips. Follow these steps to build the bars:
Measure and cut wooden board
Using a measuring tape, measure and mark the desired length for your dip station bars on the wooden board. Use a saw to carefully cut the board along the marked lines.
Sand the edges and surfaces
To prevent splinters and ensure a smooth surface, use sandpaper to sand the edges and surfaces of the wooden board. Pay special attention to areas where your hands will make contact.
Apply protective finish (optional)
To protect the wooden board from moisture and wear, you can apply a protective finish such as varnish or wood sealer. Follow the instructions on the finish for proper application.
Attach bars to the steel pipes
Position the wooden board between the steel pipes, aligning it with the desired height. Use screws to attach the wooden board securely to the steel pipes. Make sure the bars are leveled and stable.
Safety Precautions
When using your DIY home gym dip station, it’s important to prioritize safety. Follow these precautions to ensure a safe and effective workout:
Ensure stability of the dip station
Before each workout, check the stability of the dip station to ensure it is securely anchored to the ground and the connections between the pipes and flanges are tight.
Regularly inspect for wear or damage
Regularly inspect your dip station for any signs of wear, damage, or loose connections. Address any issues promptly to prevent accidents or injuries during your workouts.
Use proper form and technique
When performing dips or any other exercises on your dip station, use proper form and technique to avoid strain or injury. Consult a fitness professional if you’re unsure about correct form.
Warm up before exercising
Before using your dip station, warm up your muscles with light cardio exercises and dynamic stretches. This will prepare your body for the workout and reduce the risk of injury.
Consult a professional if unsure
If you have any doubts or concerns about building, using, or maintaining your dip station, consult a professional. They can provide guidance and ensure your safety.
Adding Additional Features
Once your DIY home gym dip station is complete, you can consider adding additional features to enhance your workouts. Here are some ideas:
Attach foam padding for comfort
To make your dip station more comfortable, you can attach foam padding to the wooden board. This will provide cushioning for your hands during your workouts.
Install dip belt attachment
If you want to add weight to your dips, consider installing a dip belt attachment to your dip station. This will allow you to easily attach a weight plate or dumbbell to increase resistance.
Add pull-up bar or parallel bars
To expand the functionality of your dip station, you can add a pull-up bar or parallel bars. This will provide additional exercise options and allow for a more well-rounded workout.
Conclusion
By following these steps and using the outlined materials, you can build your DIY home gym dip station. Remember to prioritize safety, use proper form, and regularly maintain your dip station for optimal performance and longevity. Enjoy your DIY home gym dip station and stay motivated as you work towards achieving your fitness goals. Over time, you can expand and upgrade your home gym to create an even more versatile and effective workout space.

