Looking to kickstart your fitness journey without breaking the bank? Look no further! In this article, we’ve got you covered with 10 exciting and budget-friendly DIY home gym projects. Whether you’re a fitness enthusiast or just starting out, these projects will help you create your very own workout haven right in the comfort of your own home. From homemade weights to personalized workout mats, get ready to transform your space into a fitness oasis without emptying your wallet. Let’s dive into these 10 DIY home gym projects that will not only save you money but also inspire you to stay active and motivated.

1. Convert a Spare Room into a Home Gym
If you’re looking to create a home gym but don’t have a dedicated room for it, consider converting a spare room into a fitness haven. To help you get started, follow these steps:
1.1 Clear and Declutter the Space
Before you begin transforming your spare room into a home gym, clear out any unnecessary items and declutter the space. Remove any furniture, boxes, or belongings that may be taking up valuable workout area. The goal is to create an open and inviting space that can accommodate your fitness equipment and activities.
1.2 Measure and Plan the Layout
Next, take measurements of the room to determine how much space you have to work with. This will help you plan the layout of your home gym and ensure that all necessary equipment will fit comfortably. Consider factors such as the ceiling height, electrical outlets, and windows when planning your layout.
1.3 Install Proper Lighting and Ventilation
Good lighting and ventilation are essential for creating an ideal workout environment. Install bright and adjustable lighting fixtures to ensure proper visibility during your workouts. Additionally, make sure the room has adequate ventilation to keep it cool and well-ventilated. This can be achieved through the installation of a ceiling fan or by opening windows during your workouts.
1.4 Add Rubber Flooring or Gym Mats
Protect your floors and provide a comfortable surface for your workouts by adding rubber flooring or gym mats. These materials not only absorb impact and reduce noise, but they also provide added grip and stability, especially during high-intensity workouts or weightlifting exercises.
1.5 Set up Functional Training Equipment
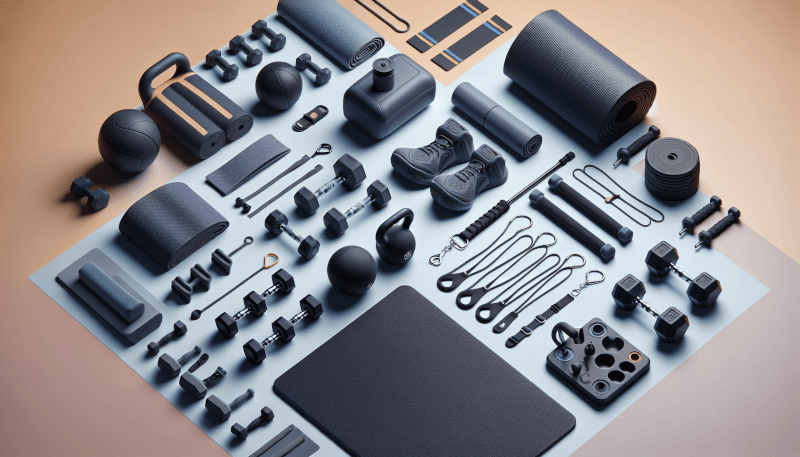
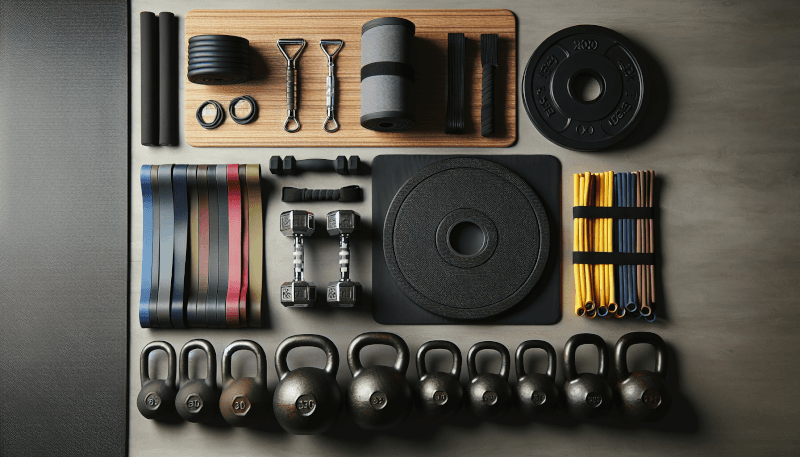
To make the most of your home gym, invest in functional training equipment that allows you to perform a variety of exercises. Some essential equipment options include resistance bands, kettlebells, dumbbells, stability balls, and a suspension training system. These versatile tools can help you improve strength, flexibility, and overall fitness.
2. Build a DIY Weightlifting Platform
For those interested in weightlifting, building a DIY weightlifting platform can be a cost-effective and convenient solution. Follow these steps to create your own weightlifting platform:
2.1 Choose the Perfect Spot
Select a suitable area in your home for your weightlifting platform. Consider factors such as ceiling height, space availability, and noise levels. Ideally, you’ll want to choose a spot with enough room for your platform, barbells, and additional equipment.
2.2 Gather Materials and Tools
To build a weightlifting platform, you’ll need the following materials: plywood, rubber mats, screws or bolts, nails, and construction adhesive. Additionally, you’ll need tools such as a circular saw, power drill, measuring tape, and a level to complete the project.
2.3 Construct the Base Frame
Start by building the base frame of your weightlifting platform using plywood. Cut the plywood to your desired dimensions and secure the pieces together using screws or bolts. Make sure the frame is level and sturdy before proceeding.
2.4 Install Plywood and Rubber Mats
Once the base frame is complete, attach plywood sheets to the top of the frame using screws or nails. This creates the main surface of your weightlifting platform. Next, cut rubber mats to fit the remaining open areas of the platform and secure them in place using construction adhesive.
2.5 Finish with Weight Placards and Barbell Storage
To add a personal touch to your weightlifting platform, consider attaching weight placards that display the maximum weight capacity for each side of the platform. Additionally, you can add barbell storage racks or hooks to keep your barbells organized and easily accessible.

3. Create a DIY Yoga Studio
For yoga enthusiasts, creating a dedicated space for your practice can greatly enhance your experience. Follow these steps to create your own DIY yoga studio:
3.1 Find a Quiet and Serene Location
Choose a location in your home that offers peace and tranquility, away from distractions and noise. Consider converting a spare bedroom, a quiet corner of your living room, or even a spacious outdoor area if weather permits.
3.2 Clear the Space and Enhance Ambiance
Clear out the chosen area, removing any unnecessary items or furniture. Create a serene ambiance by incorporating elements such as soft lighting, calming colors, and natural materials. Consider using scented candles or essential oils to further enhance the atmosphere.
3.3 Invest in Quality Yoga Mats and Props
Invest in high-quality yoga mats and props to support your practice. Look for mats with good grip and cushioning to ensure stability and comfort during poses. Additionally, consider purchasing props such as yoga blocks, straps, and bolsters to assist with flexibility and alignment.
3.4 Install Mirrors for Correct Posture
To improve your alignment and form during yoga practice, install mirrors in your DIY yoga studio. Mirrors can help you visually assess your posture and make necessary adjustments to ensure correct positioning. They can also create a sense of depth and spaciousness in the room.
3.5 Add a Relaxation Corner with Plants and Essential Oils
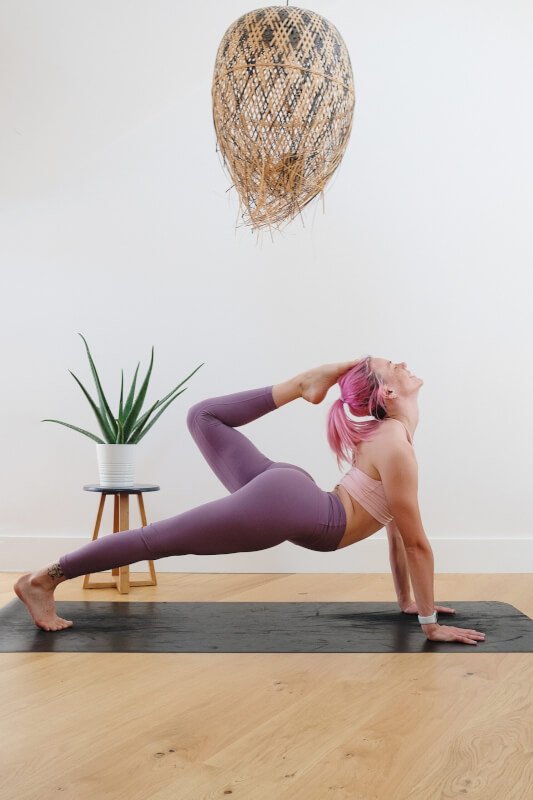
Complete the ambiance of your DIY yoga studio by adding a relaxation corner. Incorporate potted plants to bring a touch of nature into the space, promoting a sense of calm and tranquility. You can also use essential oils or a diffuser to create a peaceful and soothing aroma that enhances your yoga practice.
4. Construct a DIY Climbing Wall
If you’re an adventure seeker or looking for a unique fitness challenge, building a DIY climbing wall can be an exciting addition to your home gym. Follow these steps to create your own climbing wall:
4.1 Determine the Size and Location
Decide on the size and location of your climbing wall. Consider factors such as ceiling height, available space, and structural support. It’s important to choose a spot that allows for safe and enjoyable climbing.
4.2 Securely Mount Plywood Panels
Start by securing plywood panels to the chosen wall using strong and sturdy anchors. Ensure that the panels are securely fastened to provide stability and support while climbing. Consider using multiple anchors and distributing the weight evenly across the wall.
4.3 Drill Climbing Holds and Hand Grips
Once the plywood panels are in place, drill holes into the surface to attach climbing holds and hand grips. Place the holds strategically and consider varying their positions to create different climbing routes of varying difficulty levels. Make sure to use holds specifically designed for climbing walls to ensure safety.
4.4 Add Crash Pads or Foam Mat Flooring
To protect yourself in case of falls or slips, add crash pads or foam mat flooring at the base of your climbing wall. These pads provide a cushioned landing surface and help absorb impact during climbing sessions. Ensure that the area around the climbing wall is adequately padded to minimize the risk of injuries.
4.5 Ensure Proper Safety and Regular Inspections
Safety should be a top priority when constructing a DIY climbing wall. Regularly inspect the wall, plywood panels, anchors, and holds for any signs of wear or damage. Ensure that the wall is properly secured and that all equipment is in good condition before each climbing session.

5. Build a DIY Plyometric Box
Plyometric exercises are fantastic for improving power and explosiveness. Building a DIY plyometric box allows you to perform a wide range of plyometric exercises right in your home gym. Follow these steps to create your own plyometric box:
5.1 Gather the Necessary Materials
To build a plyometric box, you’ll need plywood, screws, wood glue, and a saw to cut the plywood to the desired dimensions. Typically, a plyometric box consists of three different height options: 20 inches, 24 inches, and 30 inches. The choice of height depends on your fitness level and the specific exercises you’ll be performing.
5.2 Cut and Assemble the Plyometric Box
Measure and mark the dimensions of each side of the plyometric box on the plywood. Using a saw, carefully cut the plywood along the marked lines. Then, assemble the box by attaching the cut pieces together using screws and wood glue. Ensure that the box is sturdy and secure.
5.3 Sand, Paint, and Finish the Box
Smooth the edges and surfaces of the plyometric box by sanding them down. This will prevent any splinters or rough spots that could cause injuries during your workouts. If desired, you can also paint or varnish the box to give it a finished look and protect the plywood from wear and tear.
5.4 Add Grip Tape for Stability
To enhance stability and prevent slipping during plyometric exercises, consider adding grip tape to the top surface of the plyometric box. This textured tape provides extra traction for your feet, allowing you to safely perform jumps, step-ups, and other explosive movements without the risk of slipping.
5.5 Customize and Decorate the Box
Personalize your plyometric box by adding decals, motivational quotes, or your favorite sports team logo. This customization adds a personal touch to your home gym and can serve as a source of motivation during intense workouts.
6. Set up a DIY Suspension Training System
Suspension training is a versatile and effective way to challenge your muscles and improve overall strength. Follow these steps to set up your own DIY suspension training system:
6.1 Choose a Sturdy Mounting Point
Identify a sturdy and secure mounting point in your home where you can anchor your suspension trainer. This can be a ceiling beam, a wall stud, or even a dedicated support structure specifically designed for suspension training. Ensure that the chosen mounting point can comfortably support your body weight and the force generated during your workouts.
6.2 Select the Right Suspension Trainer
Invest in a high-quality suspension trainer that suits your fitness goals and needs. Look for adjustable straps, comfortable grips, and sturdy buckles that can withstand the intensity of your training. Consider factors such as weight capacity, durability, and versatility when choosing a suspension trainer.
6.3 Install Anchor Points and Straps
Attach the anchor points to the chosen mounting point according to the manufacturer’s instructions. Make sure to use appropriate hardware and fasteners to ensure the anchor points are securely attached. Attach the straps provided with your suspension trainer to the anchor points, ensuring that they are properly fastened before use.
6.4 Adjust and Test the System
Adjust the length of the straps to suit your desired exercises and workout intensity. Different exercises may require different strap lengths. Test the suspension training system by performing some basic movements and check for stability. Make any necessary adjustments before proceeding with your full workout.
6.5 Incorporate Suspension Exercises into Your Routine
Once your DIY suspension training system is set up, incorporate a variety of exercises into your fitness routine. Suspension training allows for endless possibilities, including push-ups, rows, lunges, and core strengthening exercises. Experiment with different movements and levels of difficulty to challenge your muscles and improve your overall fitness.

7. Create a DIY Battle Ropes Station
Battle ropes are a fantastic tool for improving cardiovascular endurance and full-body strength. Follow these steps to create your own DIY battle ropes station:
7.1 Determine the Space and Anchor Points
Choose a space in your home that has enough room to accommodate the swinging motion of battle ropes. Measure the distance from the anchor points to ensure that the ropes have adequate length to be used effectively. The anchor points can be sturdy beams, wall hooks, or eye bolts that are securely fastened to the wall or ceiling.
7.2 Select the Ideal Battle Ropes
Invest in high-quality battle ropes that suit your fitness level and goals. Opt for ropes with a comfortable grip and a suitable diameter that allows for a solid grip during workouts. Battle ropes are available in various lengths, typically ranging from 30 to 50 feet, so choose the length that best fits your available space.
7.3 Install Wall Hooks or Eye Bolts
Attach wall hooks or eye bolts to the chosen anchor points according to their respective instructions. Screw them securely into position, ensuring that they can handle the force generated by the battle ropes during workouts. Make sure to use appropriate hardware suitable for your wall or ceiling material.
7.4 Securely Attach the Battle Ropes
Loop one end of each battle rope through the wall hooks or eye bolts and secure them tightly. Double-check the attachment to ensure that the ropes are securely fastened and won’t come loose during vigorous movements.
7.5 Practice Various Battle Ropes Exercises
With your DIY battle ropes station ready, start incorporating a variety of exercises into your workouts. Battle ropes exercises can include waves, slams, alternating waves, and rope pulls. Experiment with different movements, intensity levels, and workout durations to challenge your cardiovascular endurance and full-body strength.
8. Build a DIY Jump Rope Station
Jumping rope is an excellent cardiovascular exercise that can easily be incorporated into your home gym. Follow these steps to create your own DIY jump rope station:
8.1 Choose an Appropriate Space
Identify an adequate space in your home that allows for uninterrupted jumping rope. Choose an area with a high ceiling and enough room for your full arm span as you swing the rope. This can be a garage, basement, or even an outdoor space if weather permits.
8.2 Mount Jump Rope Holders
Install jump rope holders on the wall to keep your ropes organized and easily accessible. These holders can be mounted using screws or adhesive hooks, ensuring that they can support the weight of multiple jump ropes. Install them at a height that allows for easy reach and retrieval of the ropes.
8.3 Adjust the Height of Holders
When mounting the jump rope holders, consider the height of the individuals who will be using them. Position the holders at a height that is comfortable for the majority of users, typically around waist or chest level. Adjusting the height of the holders ensures that you can easily grab the jump ropes without excessive bending or reaching.
8.4 Test and Customize Rope Lengths
Before starting your jumping rope workouts, test the length of each rope to ensure they are suitable for your height. Stand in the center of the jump rope and pull the handles up towards your armpits. The handles should reach just below your armpits. Trim or adjust the length of the ropes if necessary, ensuring that they are neither too long nor too short for you.
8.5 Enjoy Cardio Workouts with Jump Ropes
With your DIY jump rope station ready, incorporate jumping rope into your cardio workouts. Jump rope exercises can be alternated with other forms of cardio, such as jogging in place or using a stationary bike. Start with shorter intervals and gradually increase the duration to improve your endurance and cardiovascular fitness.

9. Construct a DIY Punching Bag Stand
For those interested in boxing or martial arts, a punching bag stand is a valuable addition to any home gym. Follow these steps to construct your own DIY punching bag stand:
9.1 Select the Right Location Indoors or Outdoors
Choose a suitable location for your punching bag stand. Consider factors such as available space, ceiling height, and noise restrictions. Determine whether you’ll be installing the stand indoors or outdoors, as this will impact the materials and construction methods you’ll use.
9.2 Gather Materials for the Stand
To build a punching bag stand, you’ll need materials such as metal pipes or wooden beams for the frame, concrete or sandbags for stability, and appropriate hardware to secure everything together. Take accurate measurements to determine the required length and quantity of the materials needed.
9.3 Build the Base and Uprights
Start by constructing the base of the punching bag stand. This can be a square or rectangular frame made from metal pipes or wooden beams. Ensure that the base is sturdy and durable enough to support the weight and force exerted by the punching bag. Attach the uprights to the base, making sure they are securely fastened and perpendicular to the ground.
9.4 Install Arms and Hang the Punching Bag
Attach the arms, or extensions, to the uprights using appropriate brackets or fittings. These arms will hold the punching bag. Make sure they are securely fastened and capable of supporting the weight of the bag. Hang the punching bag from the arms using appropriate chains or heavy-duty straps, ensuring it is properly secured and balanced.
9.5 Ensure Stability and Safety
Stability and safety are crucial when using a punching bag stand. Ensure that the base is weighed down or anchored to the ground using concrete or sandbags to prevent tipping or movement during intense workouts. Regularly inspect the stand, frame, arms, and hanging mechanisms to ensure they are in good condition and properly secure before each use.
10. Set up a DIY Cardio Corner
For those who enjoy a variety of cardio workouts, creating a dedicated cardio corner in your home gym can be a game-changer. Follow these steps to set up your own DIY cardio corner:
10.1 Dedicate a Small Area for Cardio Equipment
Designate a small area in your home gym specifically for cardio equipment. This can be a corner of the room or a section of the floor that allows for easy access and movement. Clear out any unnecessary items or furniture to create an open space that can comfortably accommodate your cardio equipment.
10.2 Place Treadmill, Exercise Bike, or Rower
Choose the type of cardio equipment that suits your preferences and fitness goals. Whether it’s a treadmill, exercise bike, rowing machine, or a combination of various equipment, make sure to position them in a way that allows for easy use and accessibility. Consider factors such as noise levels, electrical outlets, and space requirements when arranging the equipment.
10.3 Consider TV, Music, or Workout Apps
Enhance your cardio sessions by setting up entertainment options in your DIY cardio corner. Consider placing a television or a tablet that allows you to watch your favorite shows, movies, or workout videos. Alternatively, create a playlist or use fitness apps that provide guided workouts and motivation.
10.4 Add Mirrors and Inspirational Posters
Mirrors can visually expand the space and help you maintain proper form and posture while exercising. Install mirrors in your DIY cardio corner to create the illusion of a larger space and to monitor your movements during workouts. Additionally, consider hanging inspirational posters or quotes that motivate and push you to achieve your fitness goals.
10.5 Stay Motivated and Keep up with Cardio Routines
Once your DIY cardio corner is set up, make it a priority to stay motivated and consistently engage in cardio workouts. Create a routine that works for you and schedule regular cardio sessions. Set goals, track your progress, and reward yourself for reaching milestones. Remember, consistency is key when it comes to achieving and maintaining cardiovascular fitness.


